")


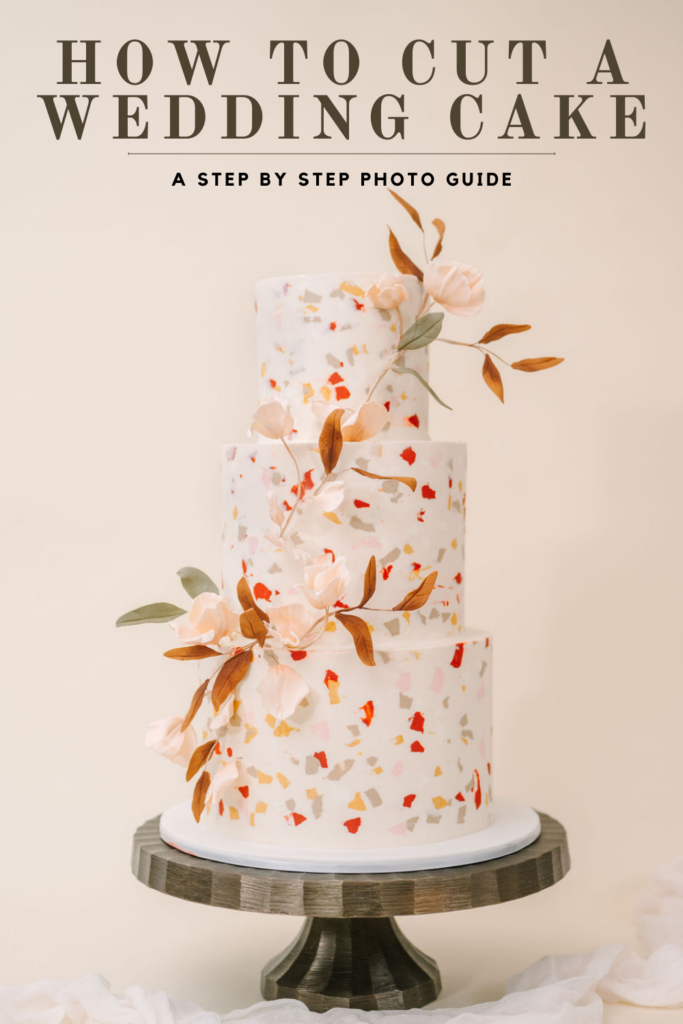
Hello bakers, let’s talk wedding cakes! tiered cakes are often the centerpiece of a wedding reception and it is important to cut them properly to ensure you end up with the correct number of servings for all of the guests. This task can seem quite daunting for beginners! Never fear, I’ve put together this step by step photo guide so you will be slicing up those gorgeous photo album ready cake slices like a pro in no time!
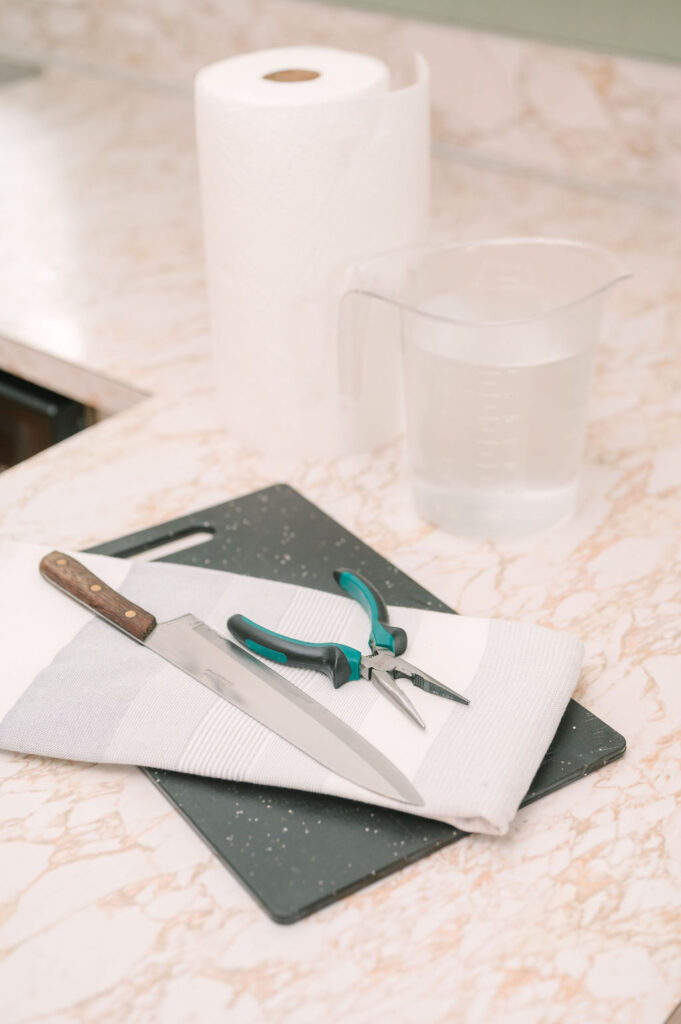
Tools Of The Trade
Chef Knife – having the correct knife is THE MOST IMPORTANT PART of a successful cake cutting. For cutting tall tiered cakes the decorative cake knife sets that are typically used for the bride and groom’s cake cutting portraits are just that – decorative and completely non-functional. Surprisingly, cake knife sets are typically dull with thick blades that are very skinny and do not support the cake slice for taller tiers. Instead, I recommend reaching for your chefs knife – these are thin bladed, fairly sharp and have a 2-3 inch wide blade, perfect for supporting cake slices!
Needle Nose Pliers – These are very handy for removing the support dowels from tiered cakes.
Gloves & Paper Towels– because things are about to get messy!
Hot Water – for cleaning off your knife blade in between cuts
A Cutting Board – for supporting cake slices and as a surface to portion out slices before plating
A Trashcan Nearby – to help with cleanup!
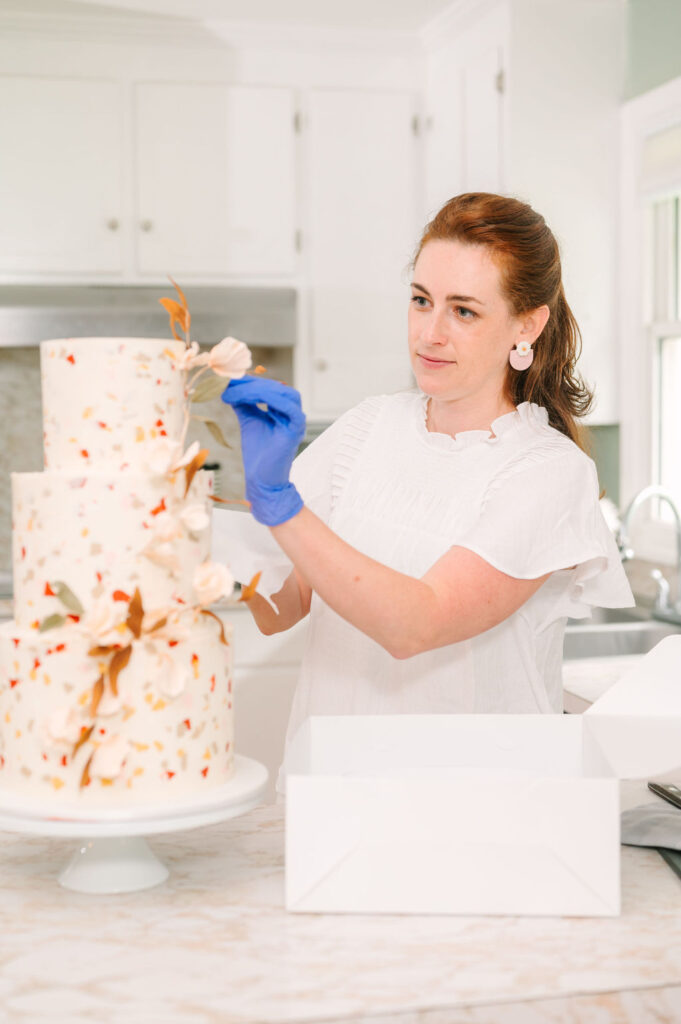
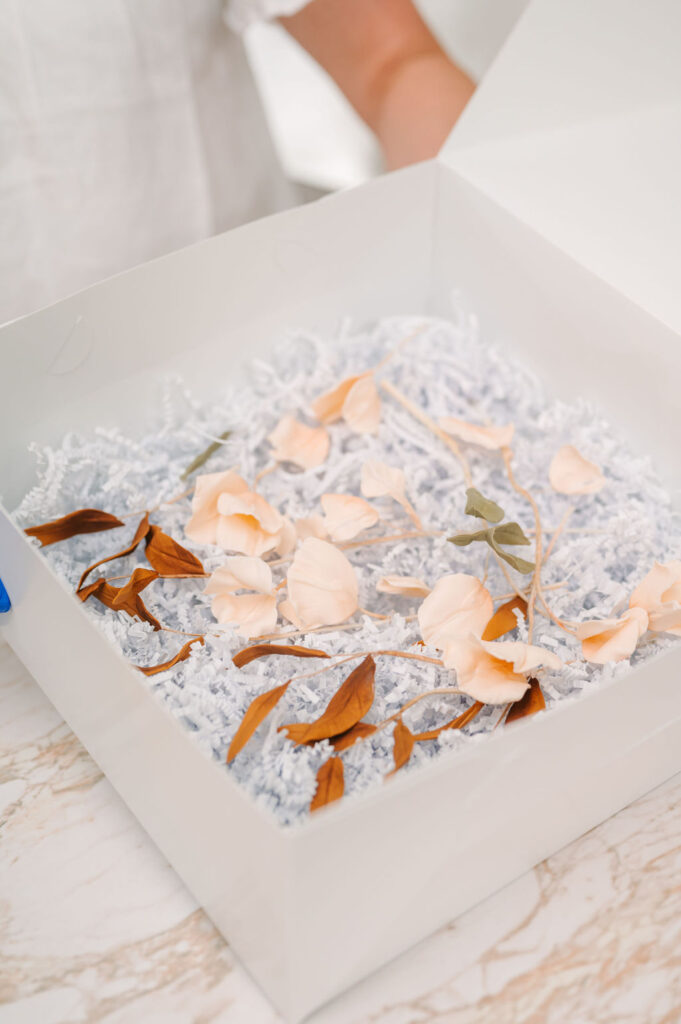
Step One – Remove Decor
Before cutting into the cake remove any decor such as cake toppers and flowers. This cake features handmade sugar flowers which couples often cherish as a keepsake. Start by carefully removing them, wipe the stems clean with a paper towel, and store them in a box for handing off to the newlyweds at the end of the night.
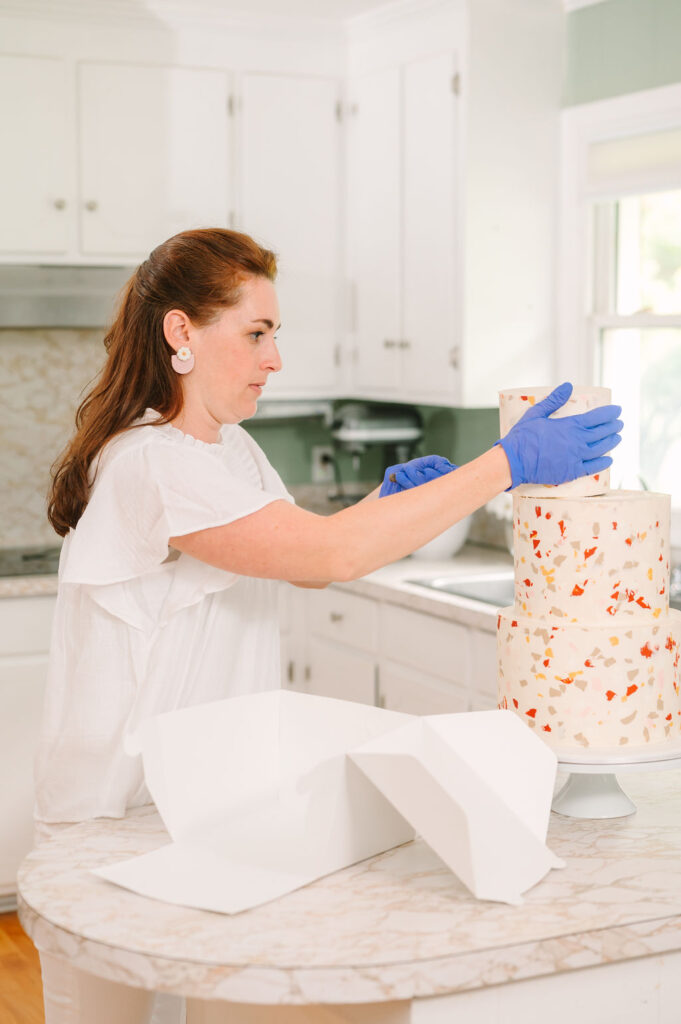
Step Two – Remove and Box Top Tier
Removing the top tier to save for the bride and grooms anniversary is an important step you don’t want to forget! Keep in mind that tiered cakes are supported by a series of dowels which can be arranged differently depending on the bakery it comes from. The best way to remove the top tier of cake is to slip the knife under the tier and use one hand to gently pull straight up. This should free the top tier from any support dowels and you can place the top tier in the box provided by the bakery.

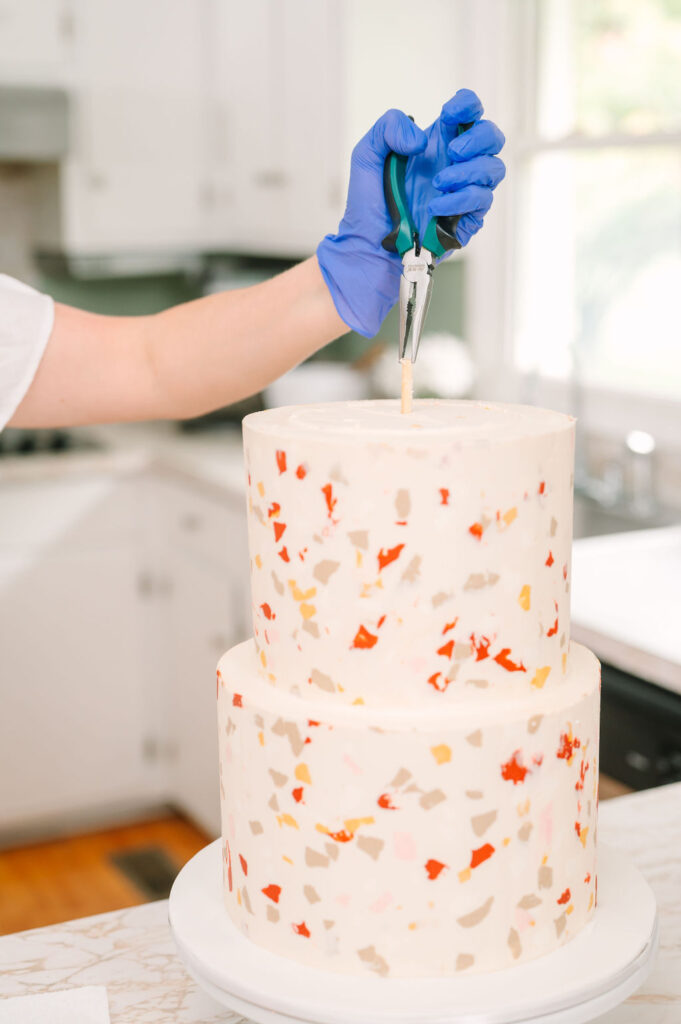
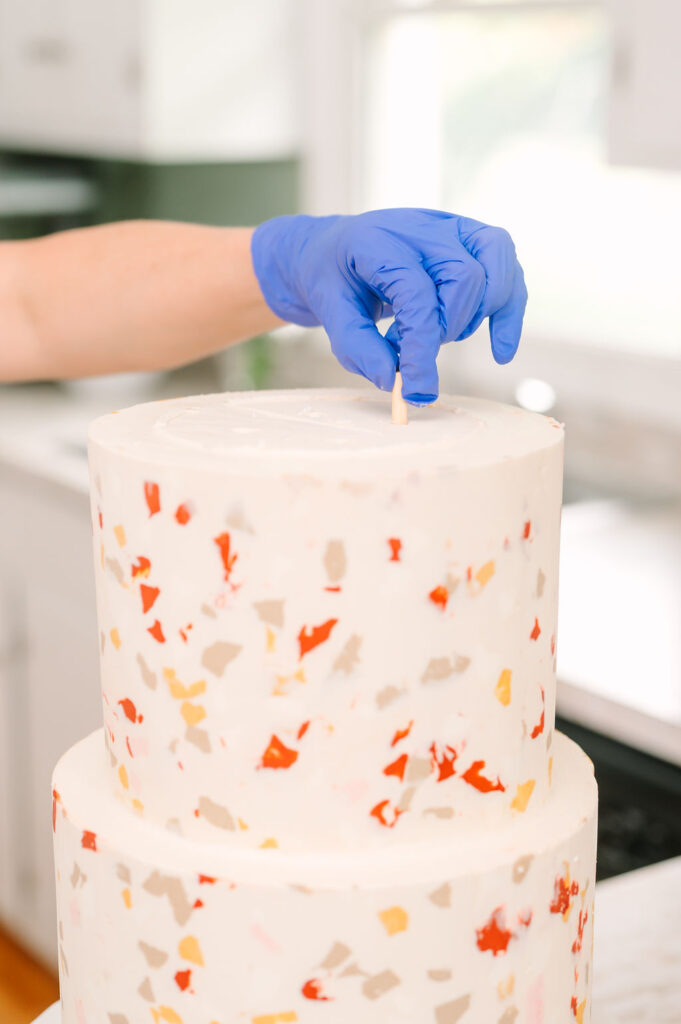
Step Three – Remove the Dowels
Next you will want to remove any support dowels that you see. Support dowels are arranged differently depending on the bakery the cake comes form and they are typically a wooden skewer, thick plastic tubing, or occasionally straws can also be used. They are fairly easy to spot and you just pull them straight out of the cake tier. Having a pair of needle nose pliers makes this job very quick and easy, but you can also use your fingers if need be. Removing the dowels before cutting the cake into slices makes it much easier as you won’t be negotiating around a bunch of obstacles while trying to cut nice evenly portioned slices.
Step Four – Make Your First Cut
I recommend cutting a thin slice off of the edge of the tier of the cake you are going to start cutting. This will remove a layer of frosting on one edge of the cake tier and will give you a flat edge to start making nice clean cuts. I typically just slice this off of the cake and (** shock and gasps**) throw this directly into the garbage.
Step Five – Cut your First pieces
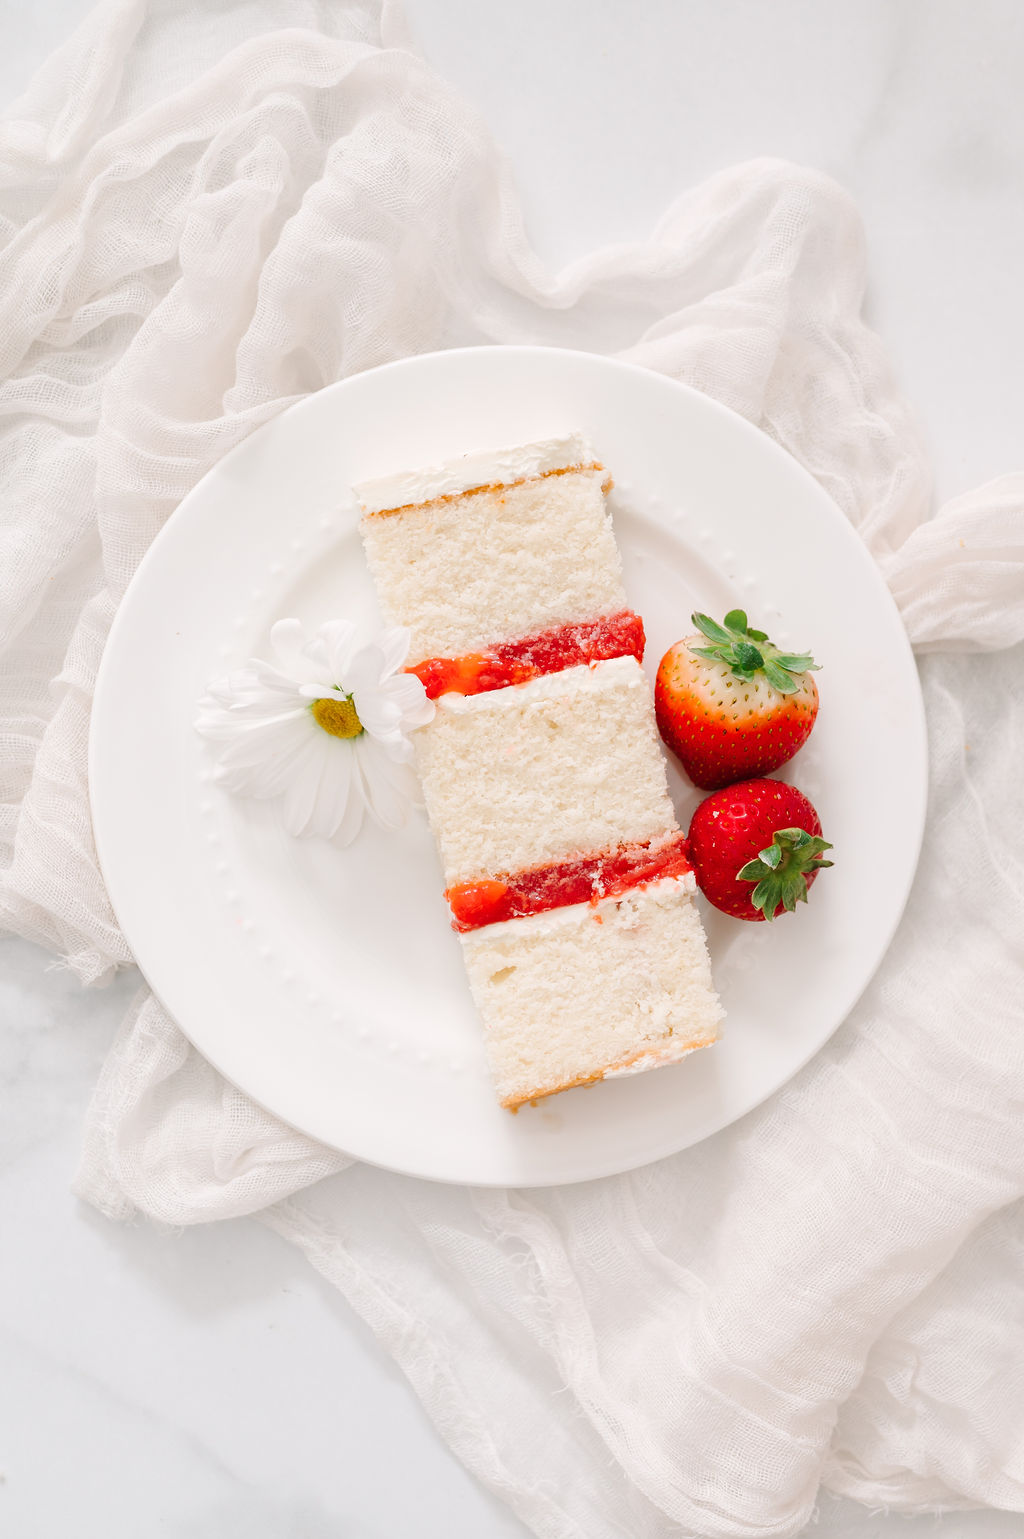
Now that the decor and dowels have been removed it’s time to get down to business! Using the cutting board for support, cut about an inch or two into the cake and all the way across to create a large rectangular slice which will fall onto your cutting board. Once you have a section of cake on your cutting board you can easily portion it into smaller pieces for plating. Repeat this step until you are all out of cake and then move to the tier below, ensuring you remove the dowels before starting your cuts again. Tada! You’ve just served up the perfect wedding cake slices!
")

")
")

I didn’t know how to properly cut a cake until I met Aryn. Now I get the cuts right each time. Thank you!!